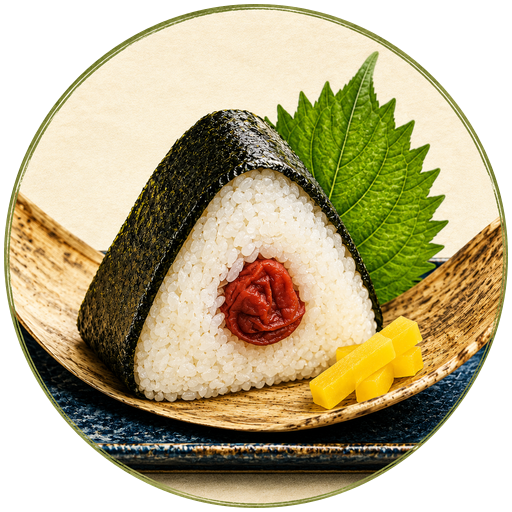
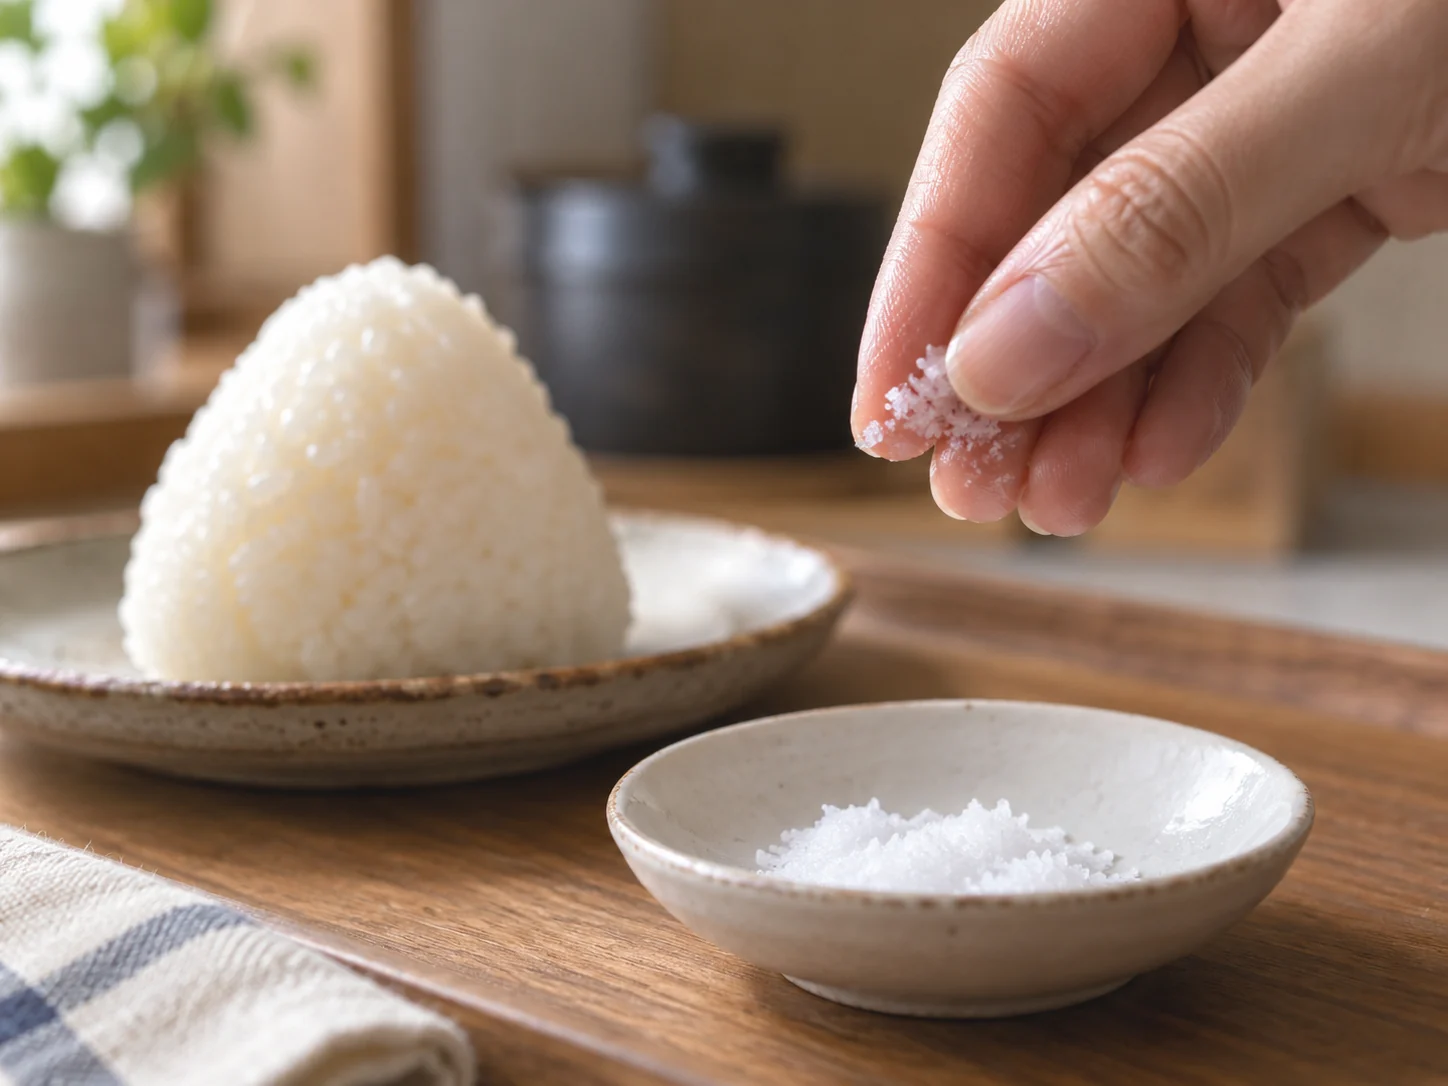
Onigiri doesn't need much salt. For a rice ball made with about 100–120 g (3.5–4.2 oz) of cooked rice, around 0.6 g is a useful starting point.
If you're shaping onigiri by hand, the usual method is to dampen your hands, spread a little salt over your palms, and shape the warm rice. If you're using plastic wrap or a mold, you'll handle the salt a little differently.
And if the onigiri is going into a lunchbox rather than being eaten right away, plastic wrap or food-preparation gloves are a better choice than shaping it with bare hands.
How Much Salt for One Onigiri?
The Japan Onigiri Association gives about 0.6 g of salt for 100–120 g of cooked rice as a general reference.
If you're using a fine salt, that's roughly a scant 1/8 teaspoon. It's only an approximation, though. Coarse, flaky, and moist salts can weigh quite differently by volume, so grams are more reliable when you want to be precise.
You don't need to measure every rice ball forever. The number is most useful the first few times, until you get a feel for how little salt is actually needed.
How to Salt Onigiri by Hand
For onigiri you're making to eat right away, the hand-salting method is straightforward.
Lightly dampen your hands. Your palms should be moist, not dripping. A little water helps keep warm short-grain rice from sticking.
Pick up a small amount of salt with your wet fingertips. You don't need a palmful.
Rub the salt over both palms. Spread it out so it doesn't sit in one salty patch.
Add the warm rice and shape it gently. Turn the rice as you work, pressing just enough for it to hold together.
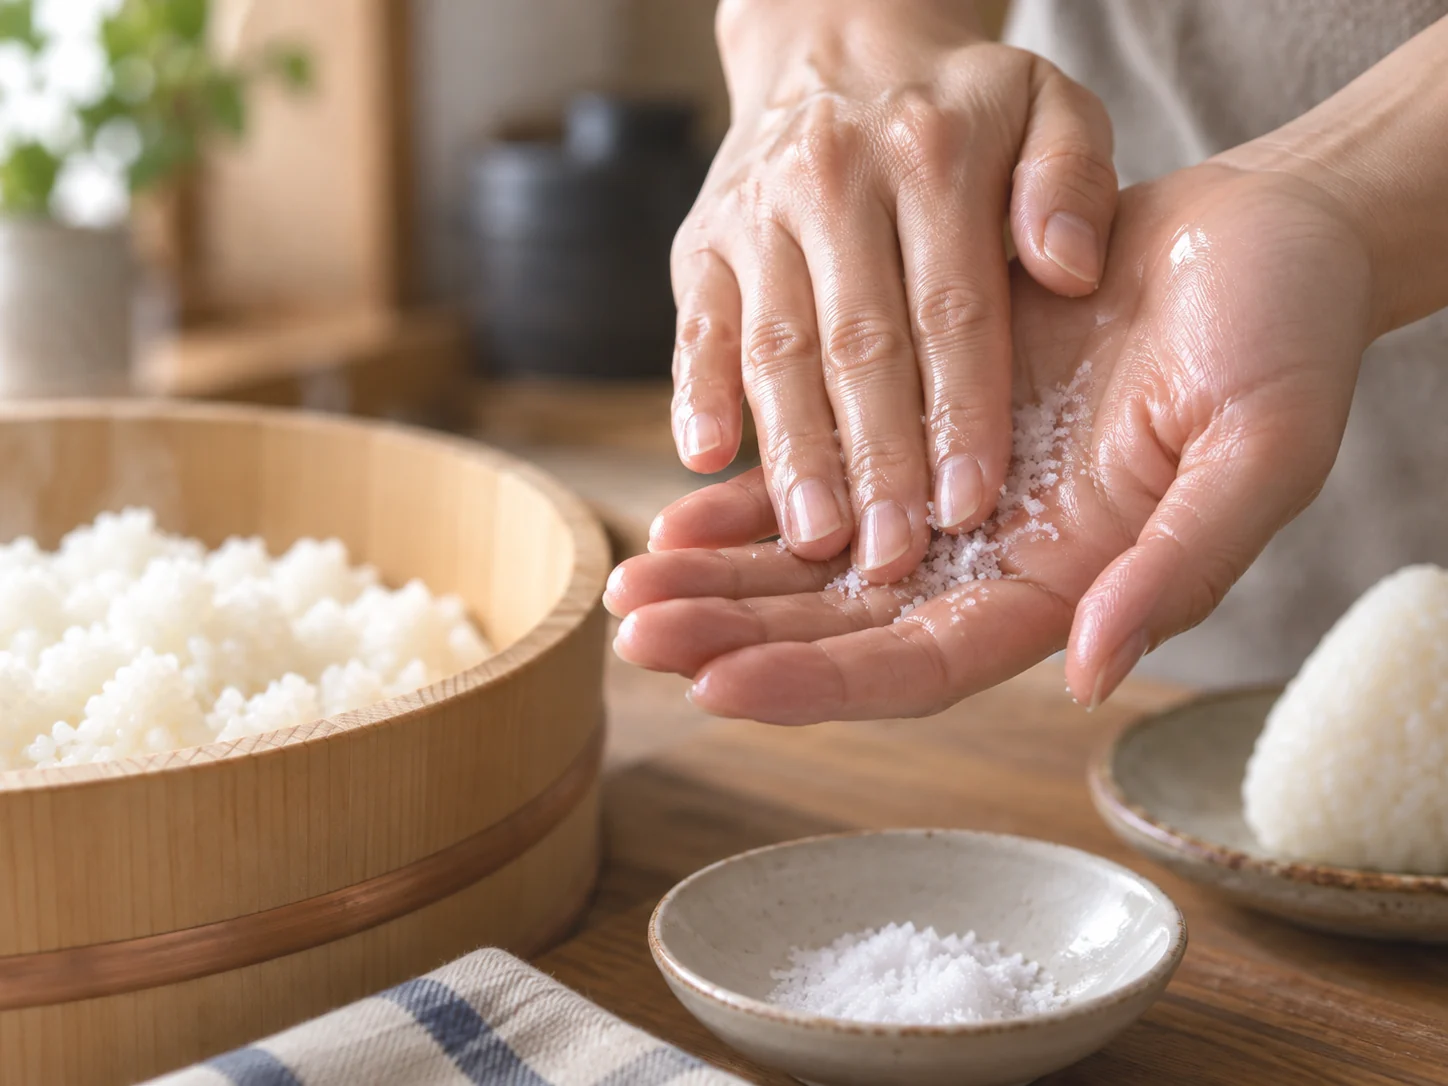
With this method, most of the salt stays near the surface. That's why a hand-salted onigiri tastes a little different from rice you've salted in the bowl first.
How to Salt Onigiri With Plastic Wrap
Plastic wrap works well when you don't want to handle the rice directly.
Lay a piece of wrap on the counter and sprinkle a small amount of salt where the rice will sit. Add the warm rice, place the filling in the center if you're using one, then cover it with a little more rice.
Gather the wrap around the rice and shape the onigiri through it.
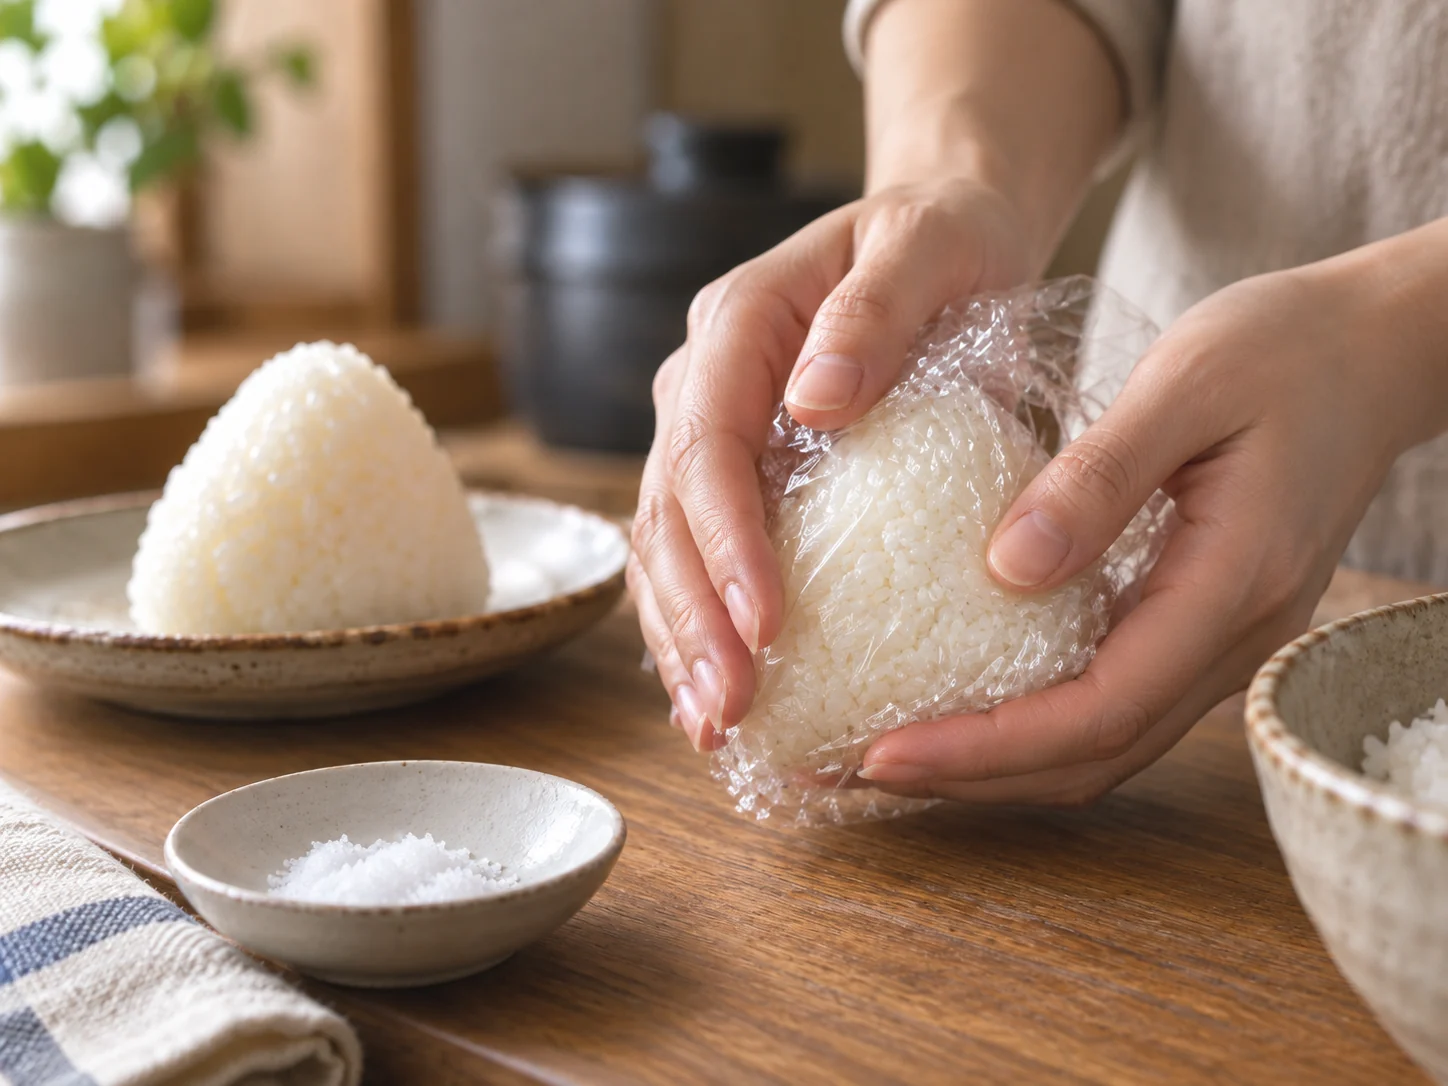
You can also mix a little salt into the rice before shaping. If you do that, don't add another heavy layer of salt outside.
For onigiri that will be packed into a bento, Japan's Ministry of Agriculture, Forestry and Fisheries recommends using plastic wrap or disposable food-preparation gloves to reduce direct hand contact with the rice.
How to Salt Onigiri With a Mold
If you're using an onigiri mold, your salted palms never touch the rice, so you need to put the salt somewhere else.
You can lightly moisten the mold and sprinkle a little salt inside before adding the rice. Another option is to season the warm rice lightly before filling the mold.
Either works.
Just don't press the rice harder than necessary. A mold should help with the shape, not turn the rice into a compact block.
Use Less Salt With Salty Fillings
The filling can change the amount of salt you need quite a bit.
Umeboshi, a salty Japanese pickled plum, usually doesn't need much extra salt around it. The same goes for strongly seasoned kombu, miso fillings, and many Japanese pickles.
With a mild filling—or no filling at all—you may want a little more seasoning on the rice.
The easiest way to get it right is to make one onigiri first, taste it, then adjust the next one.
For plant-based filling ideas, see Vegan Onigiri: 8 Authentic Japanese Rice Ball Fillings.
If you're buying prepared fillings, check the ingredient list. Seasoned kombu, furikake, and other Japanese products can sometimes contain bonito, fish extract, or other animal-derived seasonings.
Shio Onigiri Is a Good Way to Learn the Right Amount
A plain shio onigiri is rice and salt without a strongly flavored filling competing with them.
It's useful when you're trying to figure out how much salt you actually like. Start light. If the rice tastes flat, add a little more to the next one. If you notice the salt before the rice, back off.
It's also one of the easiest ways to notice differences between salts.
Common Salting Mistakes
Starting with too much salt. It's easier to fix the next onigiri than an oversalted one.
Treating every salt as if it measures the same. Fine, coarse, flaky, and moist salts can weigh very differently by the teaspoon.
Salting both the rice and your hands heavily. Pick one main method first, then adjust after tasting.
Using too much water. Your hands or mold only need a light film of moisture.
Pressing too hard. The rice needs to hold together, but the grains shouldn't be crushed into a dense block.
A Note on Food Safety
Salt adds flavor, but it doesn't replace good food hygiene.
Japan's Ministry of Agriculture, Forestry and Fisheries recommends using plastic wrap or food-preparation gloves when making onigiri for a bento. The concern is direct hand contact with cooked rice, which can transfer bacteria.
Wash your hands before cooking, use clean equipment, and handle onigiri for later eating more carefully than one you're making to eat immediately.
Which Salt Works Well for Onigiri?
You don't need an expensive Japanese salt to make good onigiri. What matters first is using a small amount and spreading it evenly.
Fine or moderately fine salt is easy to work with because it spreads well over damp hands. Coarser Japanese sea salts can also work, but the larger crystals may need a little more care to distribute evenly.
If you'd like to compare grain size and different types of Japanese sea salt, see Best Salt for Onigiri: What to Look for in Japanese Sea Salt.
Start lightly. After one rice ball, you'll have a much better idea of what the second one needs.